anchorBreethe
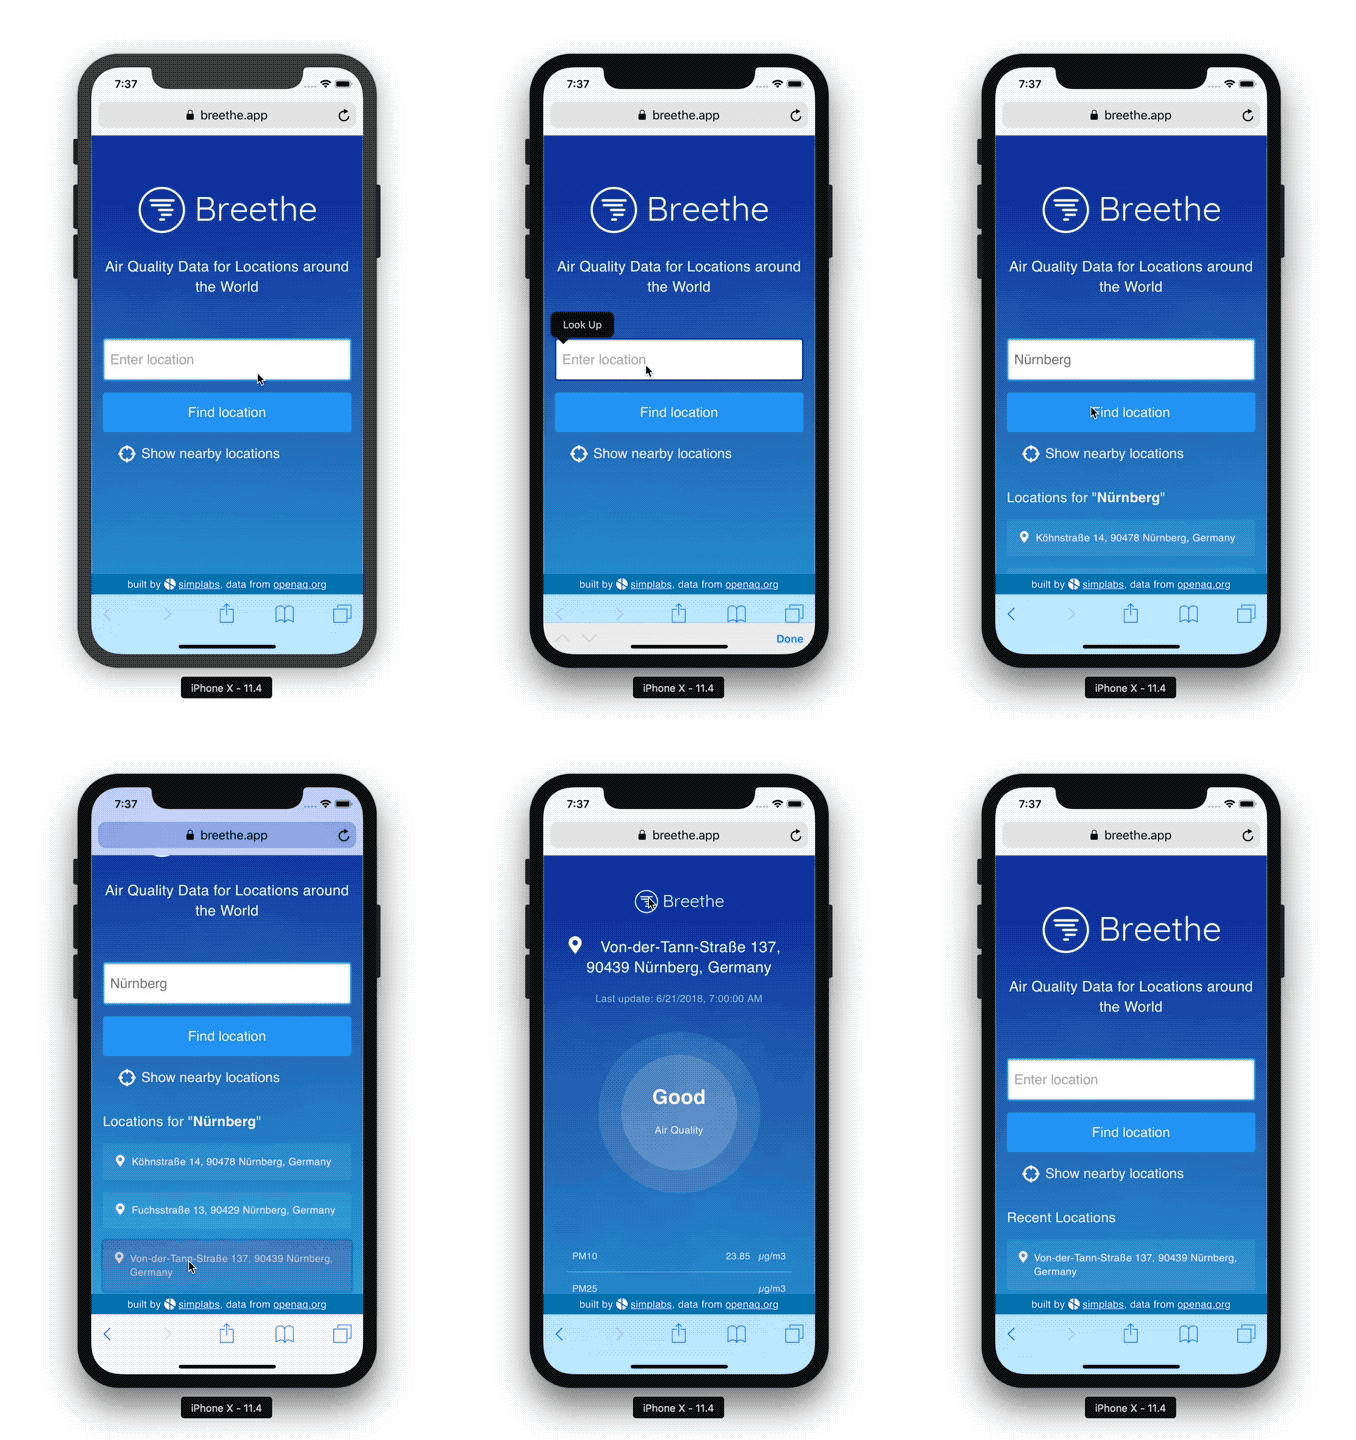
While this project was mostly meant as a technology spike to validate Glimmer's suitability for real projects as well as testing some techniques for running and serving web apps that we had in our minds for some time, we wanted to build something useful and meaningful. What we came up with is Breethe, a progressive web app that gives users quick and easy access to air quality data for locations around the world. Pollution and global warming are getting worse rather than better and having easy access to data that shows how bad the situation actually is, is the first step for everyone to question their decisions and maybe change a few things in their daily lives.

The application is open source and available on GitHub.
anchorGlimmer.js
Glimmer.js is a thin component library built on top of Ember.js's rendering engine, the Glimmer VM. It is optimized for small application bundle sizes and maximum runtime performance and thus a great fit for situations where a full-featured framework like Ember.js is not needed and too heavyweight.
Glimmer.js provides functionality for defining, composing and rendering components and keeps the DOM in sync with the component tree's internal state. It uses Ember CLI, the battle-tested command-line interface tool (CLI) from the Ember project, to help create and manage applications. Glimmer.js is written in TypeScript and so are applications built with it.
Glimmer.js templates use Handlebars-like syntax, e.g.:
{{#each measurementLists.first key="@index"}}
  <MeasurementRow
    @value={{measurement.value}}
    @parameter={{measurement.parameter}}
    @unit={{measurement.unit}}
  />
{{/each}}
These templates then get compiled to bytecode that the Glimmer VM (yes, this is a full-fledged VM that runs inside the JavaScript VM inside the browser) processes and translates into DOM operations. For a detailed overview of how that works and why it results in very small bundle sizes as well as super fast initial and update renders, watch the talk I gave at the Ember.js Munich meetup last year:
anchorBuilding Breethe with Glimmer.js
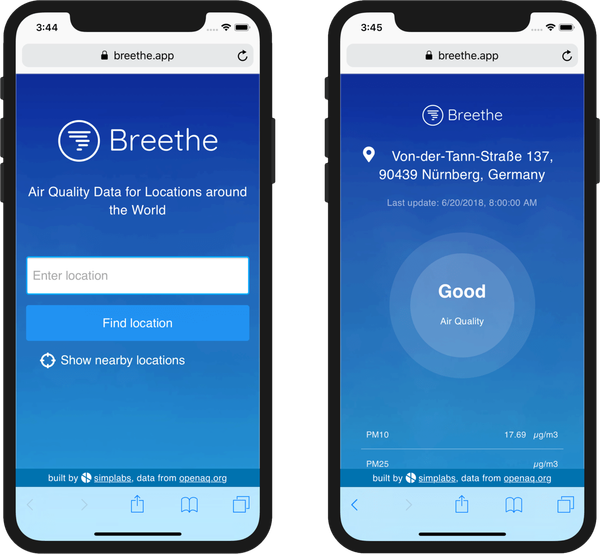
The Breethe app consists of two main screens, the Start page with the search form and the results page that shows the data and an air quality score for a particular location. These two screens are implemented via two components so that depending on the current state of the app, the correct one is rendered.

As Glimmer.js is "only" a UI component library and does not include any routing functionality, we used the Navigo router to set up logic that maps the current URL to the corresponding application state and vice versa:
_setupRouting() {
  this.router = new Navigo();

  this.router
    .on('/', () => this.mode = MODE_SEARCH)

    .on('/search', () => this.mode = MODE_SEARCH)

    .on('/search/:searchTerm', (params) => {
      this.mode = MODE_SEARCH;
      this.searchTerm = params.searchTerm;
     })

     .on('/location/:locationId/', (params) => {
       this.mode = MODE_RESULTS;
       this.searchTerm = params.locationId;
     })

    .resolve(this.appState.route);
}
First of all, we create a new router instance. We then map URLs to the corresponding states of the app. The routes /, /search and /search/:searchTerm all map to the MODE_SEARCH mode that renders the search form and search results if there are any. The /location/:locationId route maps to the MODE_RESULTS mode that renders a particular location's data and quality score. We use the mode property in two tracked properties isSearchMode and isResultsMode. Tracked properties are Glimmer's equivalent to Ember's computed properties and will result in the component being re-rendered when their value changes.
@tracked('mode')
get isSearchMode(): boolean {
  return this.mode === MODE_SEARCH;
}

@tracked('mode')
get isResultsMode(): boolean {
  return this.mode === MODE_RESULTS;
}
These tracked properties are then used in the template to render the respective component for the current mode:
{{#if isSearchMode}}
  <Search @searchTerm={{searchTerm}} />
{{else if isResultsMode}}
  <Location @locationId={{locationId}} />
{{/if}}
You might notice the @ prefix of the searchTerm and locationId properties that are set on the components. This prefix distinguishes properties that are to be passed to the component instance as opposed to attributes that will be applied to the component's root DOM element.
The Search component renders the SearchForm component that implements the text field for the search term and the button to submit the search:
<SearchForm @term={{searchTerm}} @onSubmit={{action searchByTerm}} />
@onSubmit={{action searchByTerm}} assigns the searchByTerm method of the Search component as an action to the @onSubmit property of the SearchForm component. Whenever the search form is submitted, the SearchForm component invokes the assigned action:
submitSearch(event) {
  event.preventDefault();
  let search = event.target.value;
  this.args.onSubmit(search);
 }
The last line calls the assigned action and thus invokes the searchByTerm method on the Search component. That method enables the loading state on the component, loads locations matching the search term, assigns them to its locations property and disables the loading state again:
async searchByTerm(searchTerm) {
  this.loading = true;
  let url = `${__ENV_API_HOST__}/api/locations?filter[name]=${searchTerm}`;
  let locationsResponse = await fetch(url);
  let locationsPayload: { data: Location[] } = await locationsResponse.json();
  this.locations = locationsPayload.data;
  this.loading = false;
}
The loading and locations properties are tracked properties so that changing them results in the component to be re-rendered. They are used in the template like this:
<div class="results">
  {{#if loading}}
    <div class="loader search-loader"></div>
  {{else}}
    <ul>
      {{#each locations key="id" as |location|}}
        <li class="result">
          <a href="/location/{{location.id}}" class="result-link" data-internal>
            {{location.label}}
          </a>
        </li>
      {{/each}}
    </ul>
  {{/if}}
</div>
This is just a brief overview of how an application built with Glimmer.js works. We will cover some of these things in more detail in future posts, particularly how we load and manage data with Orbit.js. For a closer look on the inner workings of Breethe, check out the code on github.
anchorFrom Glimmer.js to Ember.js
Besides making the Glimmer VM available to be used outside of Ember.js and offering a solution for situations where bundle size and load time performance is of crucial importance, Glimmer.js also serves as a testbed for new features and changes that will later make their way into the Ember.js framework. It is not bound to the strong stability guarantees that Ember.js offers and thus a great environment for experimenting with new approaches to existing problems that will usually require a few iterations until the API becomes stable.
Some new things that originate in experiments done in Glimmer.js have already found their way back into Ember.js (at least in some form):
- The
@syntax as shown above that clearly distinguishes properties that are set on a component instance vs. attributes that are set on a component's root DOM element - this PR enables the feature flag by default. - The possibility to use ES2015 classes instead of Ember.js' own object model - see this blog post for more information.
- Template-only components that do not have a wrapping
<div>- can be enabled as an optional feature.
Eventually it will be possible to seamlessly use Glimmer.js components in Ember.js applications (see the quest issue for more information). That will also enable "upgrading" Glimmer.js applications to Ember.js once they reach a certain size and complexity and the additional features and concepts that Ember.js provides over Glimmer.js justify a more heavyweight framework.
anchorTesting
Glimmer.js' testing APIs are very similar to what Ember.js uses for component tests. The idea is to render a particular component with a given set of properties and attributes and assert on the generated DOM:
import { module, test } from 'qunit';
import hbs from '@glimmer/inline-precompile';
import { setupRenderingTest } from '@glimmer/test-helpers';

module('Component: MeasurementRow', function (hooks) {
  setupRenderingTest(hooks);

  test('PPM Case', async function (assert) {
    await this.render(hbs`
      <MeasurementRow
        @value="12"
        @parameter="pm25"
        @unit="ppm"
      />
    `);
    let label = this.containerElement
      .querySelector('[data-test-measurement-label]')
      .textContent.trim();
    let value = this.containerElement
      .querySelector('[data-test-measurement-value]')
      .textContent.trim();
    let unit = this.containerElement
      .querySelector('[data-test-measurement-unit]')
      .textContent.trim();

    assert.equal(label, 'PM25', 'Parameter is rendered');
    assert.equal(value, '12', 'Value is rendered');
    assert.equal(unit, 'ppm', 'Unit is rendered');
  });
});
This test case tests the MeasurementRow component by passing a set of properties and asserting that the DOM contains the expected elements with the expected content. The key element to notice is the invocation of setupRenderingTest which sets the test case up as a rendering test. Rendering tests have a render method that takes a template and renders that into the testing container. The rendered component's root element can then be accessed via the test's containerElement property.
We use data-test- attributes in this test to select elements in the DOM (e.g. this.containerElement.querySelector('[data-test-measurement-label]')). That allows using expressive selectors in tests without relying on DOM structure or CSS class names. As these attributes are only needed for testing, we strip them from the templates in production builds so that we don't grow the bundle size unnecessarily. For a full-featured addon that makes that approach conveniently available for Ember.js applications, check out the ember-test-selectors addon.
Glimmer.js' testing APIs still have some shortcomings (see this issue) and are not entirely ready for prime time. In order to test some more advanced component behaviors, we use Puppeteer to run the entire application in a headless browser.
anchorOutlook
In future posts, we will look at some specific aspects of the application in more detail, including service workers and offline functionality (and testing that with Puppeteer), server side rendering (which enables progressive enhancement where JavaScript is not even needed in the browser anymore to be able to use the application) and how we optimized the app's CSS using css-blocks.
Stay tuned 👋
