anchorQuick look at Yup
Yup provides factory methods for different data types that you can use to construct schemas and their constraints for your data. The following code imports the string schema, and calls the required and email methods to describe what type of data is allowed. The returned schema emailRequired validates values to be "a valid non-empty string that matches an email pattern".
import { string } from "yup";

const emailRequired = string().required().email();

emailRequired.isValid("wrong.email.com").then(function (valid) {
  valid; // => false
});anchorDescribing objects with Yup
Let's see how we can create a schema that describes some complex data. Here's some example found in the Yup docs:
import { object, string, number, date } from "yup";

const schema = object().shape({
  name: string().required(),
  age: number().required().positive().integer(),
  email: string().email(),
  website: string().url(),
  createdOn: date().default(function () {
    return new Date();
  }),
});
object().shape() takes an object as an argument whose key values are other Yup schemas, then it returns a schema that we can cast or validate against i.e
schema
  .isValid({
    name: "jimmy",
    age: 24,
  })
  .then(function (valid) {
    valid; // => true
});anchorPutting it together
import { tracked } from "@glimmer/tracking";
import { getProperties } from "@ember/object";
import { object } from "yup";

export default class YupValidations {
  context;
  schema;
  shape;

  @tracked error;

  constructor(context, shape) {
    this.context = context;
    this.shape = shape;
    this.schema = object().shape(shape);
  }

  get fieldErrors() {
    return this.error?.errors.reduce((acc, validationError) => {
      const key = validationError.path;

      if (!acc[key]) {
        acc[key] = [validationError];
      } else {
        acc[key].push(validationError);
      }

      return acc;
    }, {});
  }

  async validate() {
    try {
      await this.schema.validate(this.#validationProperties(), {
        abortEarly: false,
      });

      this.error = null;
      return true;
    } catch (error) {
      this.error = error;

      return false;
    }
  }

  #validationProperties() {
    return getProperties(this.context, ...Object.keys(this.shape));
  }
}
That's it :) Let's go through it real quick.
There are 4 properties defined context, schema, shape and error which is @tracked.
contextis either the data or the whole instance of the object we're validating.shapethe expected shape of the data; this is used to createschemaschemais a Yup schema created fromshapeerroris aValidationErrorthrown byschema.validate()when the data doesn't match theschema.
The constructor takes 2 arguments context and shape, we set those on the instance as well as create schema off of shape.
fieldErrorsis a computed property that returns an object which keys are paths to the schemas that failed validations. The object is created by reducing a list of errors read fromValidationError.validateis an asynchronous method that callsvalidateon ourschema, awaits the result, resets errors if validations pass, otherwise catches an error and sets it on the class instance. It's important that theabortEarly: falseoption is passed toschema.validate()as otherwise if any field would throw an error, it would stop validating the rest of the data, which is not desired. Furthermorevalidatereceives data returned from#validationProperties, the reason for that being Ember Proxies. In order to correctly support proxies, e.g Ember-Data models, we need to grab data fromcontextwith the help ofgetProperties.
anchorUsage
import Model, { attr, hasMany } from "@ember-data/model";
import YupValidations from "emberfest-validations/validations/yup";
import { number, string } from "yup";

export default class UserModel extends Model {
  validations = new YupValidations(this, {
    name: string().required(),
    age: number().required(),
  });

  @attr("string") name;
  @attr("number") age;
  @hasMany("pet") pets;
}
We instantiate YupValidations and pass it some arguments, a User model instance, and Yup shape.
Later, inside a form component I'd like to be able to just call YupValidations#validate method which returns a Promise that resolves to a Boolean.
import Component from "@glimmer/component";
import { action } from "@ember/object";
import { inject as service } from "@ember/service";

export default class UserFormComponent extends Component {
  @service store;

  user = this.store.createRecord("user");

  @action
  async onSubmit(event) {
    event.preventDefault();

    if (await this.user.validations.validate()) {
      this.user.save();
    }
  }
}
Further on, there's an ErrorMessage component that receives a list of error messages and handles them in some way. Normally we'd show internationalized messages with the help of ember-intl, but in our case we'll just show their keys directly like so:
{{! error-message.hbs }}

{{#each @messages as |message|}}
  <div>
    {{message.key}}
  </div>
{{/each}}
Finally the component invocation:
<ErrorMessage @messages={{this.user.validations.fieldErrors.age}} />
anchorInternationalization
Yup by default returns messages in plain text based on some built-in templates and some way of concatenation. That's not an option for us though because in Ember apps we normally use ember-intl for translating text. Luckily Yup allows to use functions that will produce messages.
The full list of messages can be found in Yup's source code
import { setLocale } from ‘yup’;
import { getProperties } from ‘@ember/object’;

const locale =
  (key, localeValues = []) =>
  (validationParams) => ({
    key,
    path: validationParams.path,
    values: getProperties(validationParams, ...localeValues),
  });

setLocale({
  mixed: {
    default: locale('field.invalid'),
    required: locale('field.required'),
    oneOf: locale('field.oneOf', ['values']),
    notOneOf: locale('field.notOneOf', ['values']),
    defined: locale('field.defined'),
  },
  string: {
    min: locale('string.min', ['min'])
  },
})
locale is a higher order function that returns a function that is later used by Yup to produce our messages. The first argument it takes is a translation key of our liking that would then be consumed by ember-intl e.g field.invalid. The second argument is a list of fields it should get from validationParams that we receive from Yup, the parameters could have values like min and max that would be passed to ember-intl t helper.
At the end of the day the produced messages will look like this:
{
  key: "string.min",
  path: "name",
  values: { min: 8 }
}
{
key: "field.required",
path: "age",
values: {}
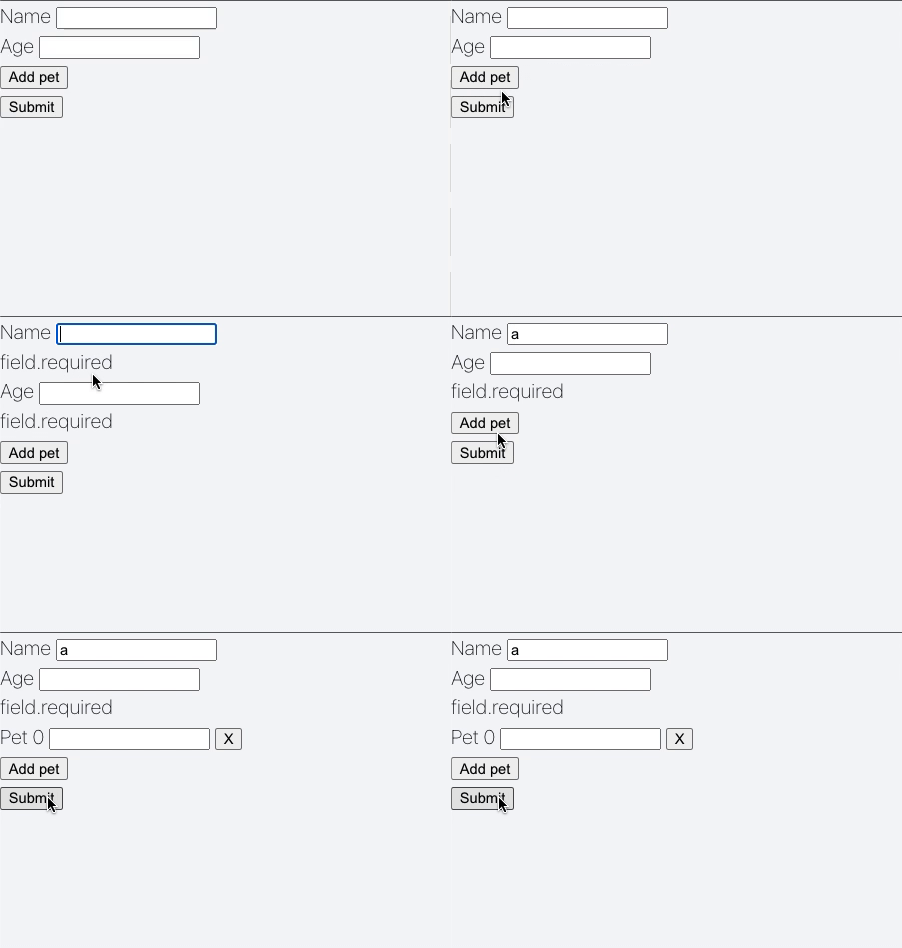
}Let's see what messages are returned after the User model is validated when the form is submitted:

anchorValidating related schemas
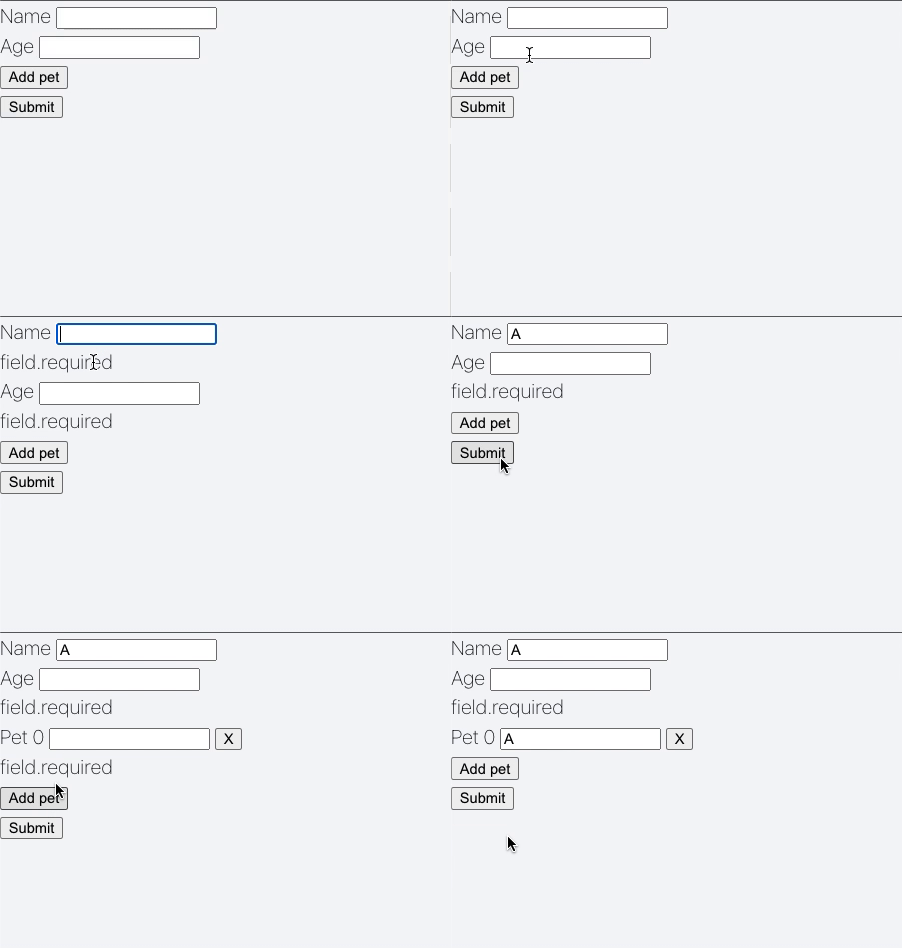
As you could see before, pets aren't being validated yet. There are 2 things that need to be done first:
- Create validations for the
Petmodel. - Validate pets when the user is validated.
Here's the Pet model with validations.
import Model, { attr, belongsTo } from "@ember-data/model";
import { string } from "yup";
import YupValidations from "emberfest-validations/validations/yup";

export default class PetModel extends Model {
  validations = new YupValidations(this, {
    name: string().required(),
  });

  @attr("string") name;

  @belongsTo("user") owner;
}
Now let's take a look at the code for connecting the validations for User and Pet. This will validate pets when a User is validated.
Yup has a public API for extending schemas as well as creating custom tests, both can be used to create the connection we want.
addMethodaccepts a schema, a name of a method that is to be added on the target schema, as well as a function.mixed#testis a method that exists on all schemas, it can be used in multiple ways, but in this case the only thing we need to know is that it's a method that receives a function as an argument, and the function it receives has to return a promise that returnstrueorfalse.
anchorbelongsTo
import { addMethod, object } from "yup";

addMethod(object, "relationship", function () {
  return this.test(function (value) {
    return value.validations.validate();
  });
});
This bit is fairly straightforward, we add a relationship method to the object schema. When relationship is called, it adds a custom test that receives value which is an instance of a model. After that it's just a matter of accessing the validaitons wrapper and running it's validate method.
anchorhasMany
import { addMethod, array } from "yup";

addMethod(array, "relationship", function () {
  return this.transform(
    (_value, originalValue) => originalValue?.toArray() || []
  ).test(async function (value) {
    const validations = await Promise.allSettled(
      value.map(({ validations }) => {
        return validations.validate();
      })
    );

    return validations.every(validation => validation);
  });
});
hasMany relationships are pretty much the same as belongsTo. The only difference is that the hasMany promise-proxy needs to be transformed into an array that Yup will be able to handle which is done by calling toArray. Then the test validates all object in the array and check whether all validations return true.
That's it – now we need to modify the User model by adding pets to its validations.
import Model, { attr, hasMany } from "@ember-data/model";
import YupValidations from "emberfest-validations/validations/yup";
import { number, array, string } from "yup";

export default class UserModel extends Model {
  validations = new YupValidations(this, {
    name: string().required(),
    age: number().required(),
    pets: array().relationship(),
  });

  @attr("string") name;
  @attr("number") age;

  @hasMany("pet") pets;
}
anchorConditional validations
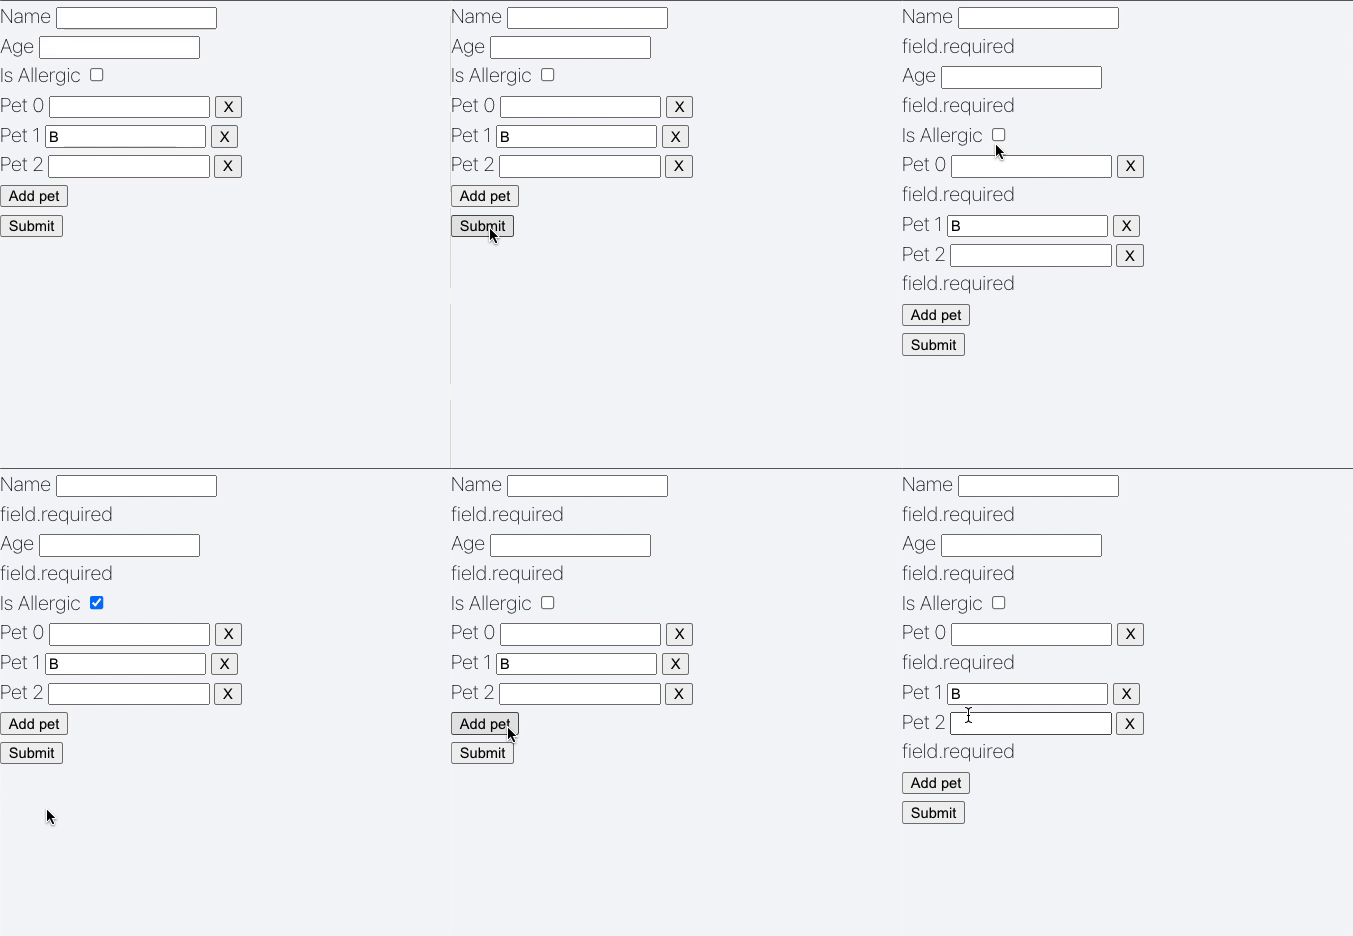
There are times when you need to do some conditional validations based on some different state. Here we'll have a really weird requirement where pet.name is only required when the user is not allergic.
import Model, { attr, hasMany } from "@ember-data/model";
import YupValidations from "emberfest-validations/validations/yup";
import { number, array, string } from "yup";

export default class UserModel extends Model {
  validations = new YupValidations(this, {
    name: string().required(),
    age: number().required(),
    pets: array().relationship(),
  });

  @attr("string") name;
  @attr("number") age;
  @attr("boolean") isAllergic;

  @hasMany("pet") pets;
}
The only thing added here is a new isAllergic attribute.
Here's the modified Pet model:
import Model, { attr, belongsTo } from "@ember-data/model";
import { boolean, string } from "yup";
import YupValidations from "emberfest-validations/validations/yup";

export default class PetModel extends Model {
  validations = new YupValidations(this, {
    name: string().when(["isUserAllergic"], {
      is: true,
      then: string().notRequired(),
      otherwise: string().required(),
    }),
    isUserAllergic: boolean(),
  });

  @attr("string") name;
  @belongsTo("user") user;

  get isUserAllergic() {
    return this.user.get("isAllergic");
  }
}
Pet now implements the conditional name validation by calling the when method of the string schema. The when method accepts a list of names of dependent properties, then we pass an object which specifies that the name attribute is not required when isUserAllergic is true.

anchorSummary
We've taken a look at an alternative approach to validating data in our apps. Now it's easier than ever to integrate with 3rd party libraries with mostly just Ember proxies standing on our way. I also find it beneficial to be able to use something like Yup for teams that work in many environments.
The complete source code used in this blog post can be found here: https://github.com/BobrImperator/emberfest-validations
